Between its two parts at the Whitney Museum of American Art in New York and the Philadelphia Museum of Art, “Jasper Johns: Mind/Mirror” has a staggering amount of work in it. The giant two-part career survey features all the hits by the 91-year-old icon of American art—the targets, the flags, the maps—plus enough obscure works and curatorial flourishes to make it feel like an event, despite the fact that Johns has not exactly lacked for major museum attention in recent years.
In the lead-up to the show, there was some gossip, aired in Deborah Solomon’s Johns profile in the Times, about the museum’s two curators—the Whitney’s Scott Rothkopf and the PMA’s Carlos Basualdo—not getting along. Whatever the case may be, the two shows don’t really feel like they offer dueling visions. They work together just fine.
It’s a lot of Johns to take in when stacked together, and the full pilgrimage to both locations might not really be necessary for all but the most extreme Jasper-heads. But those who do make the trip between New York and Philly will get a fittingly Johnsian two-part experience: two different views of the same subject, with mysteriously slightly different accents and colorings.
There’s more to be said in a proper review. While the thoughts come, here are some photos of “Jasper Johns: Mind/Mirror.”
Whitney Museum of American Art
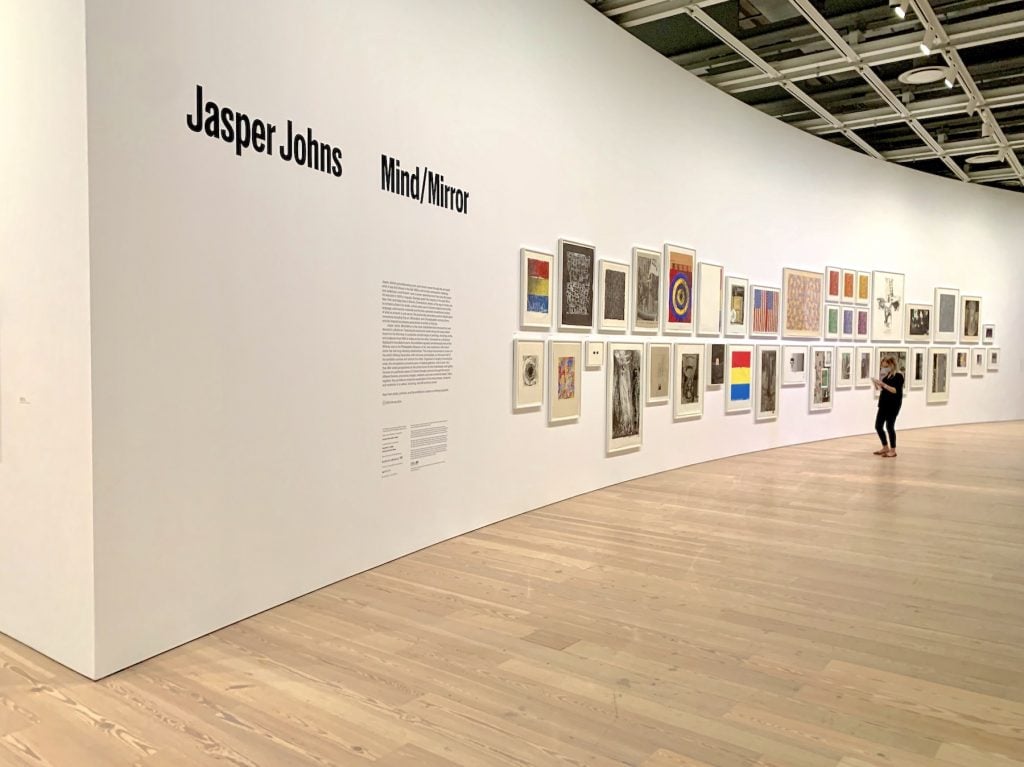
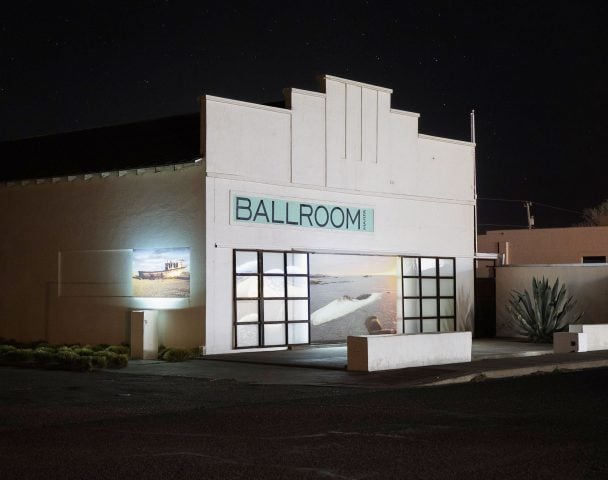
The entrance to “Jasper Johns: Mind/Mirror” at the Whitney Museum of American Art. Photo by Ben Davis.

Installation view of Jasper Johns, Untitled (1960-61) in “Jasper Johns: Mind/Mirror” at the Philadelphia Museum of Art . Photo by Ben Davis.
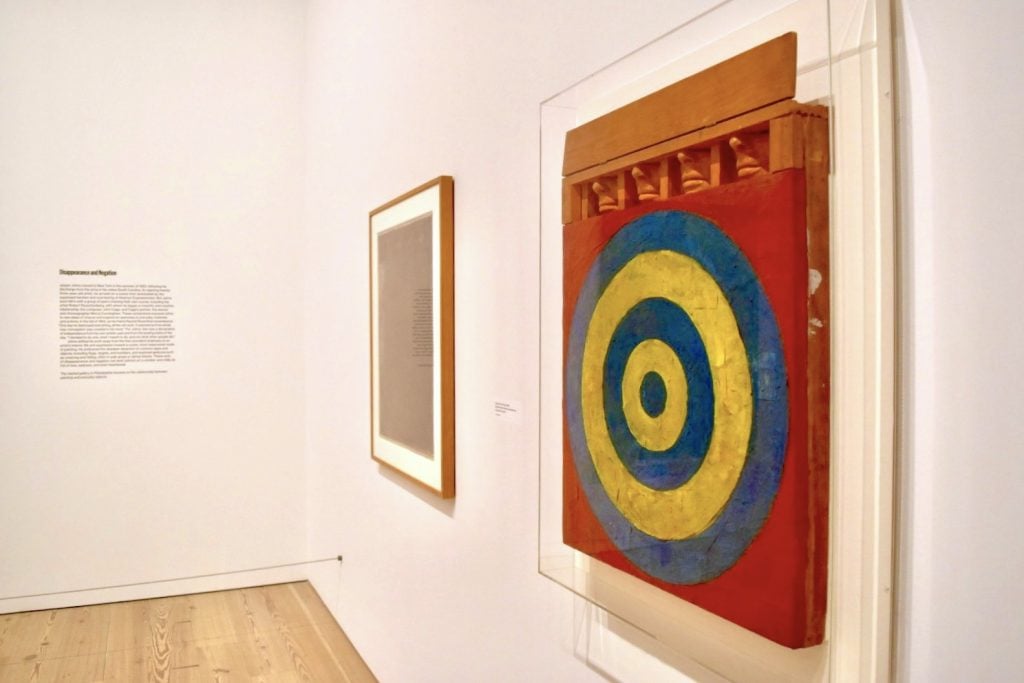
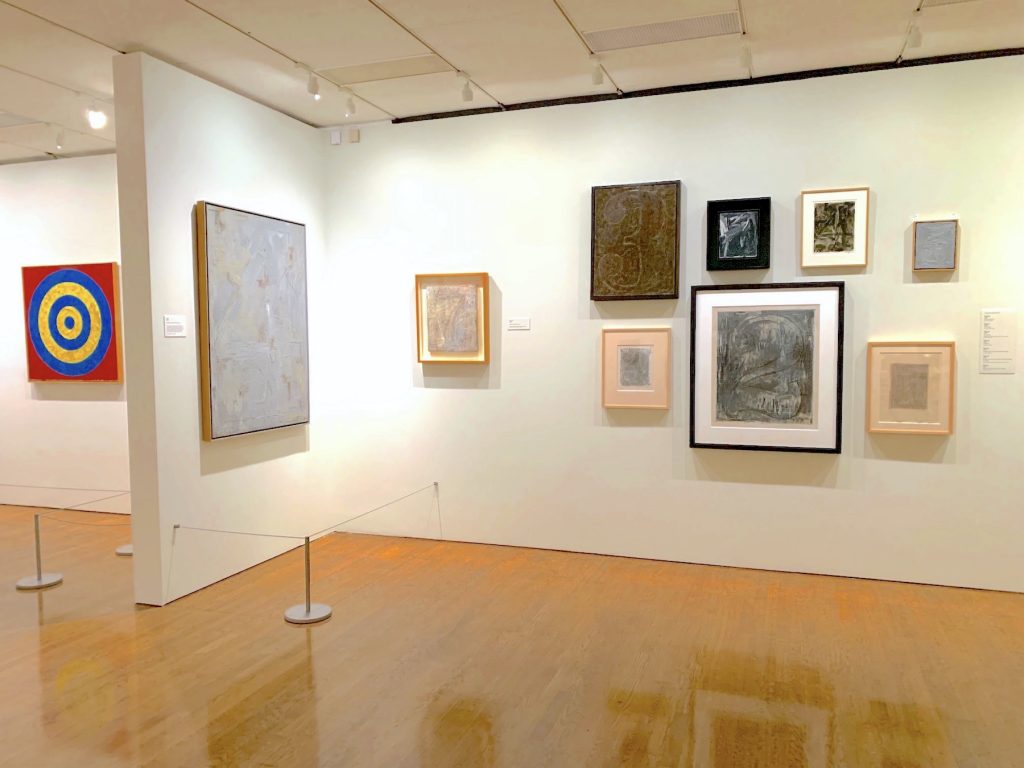
Jasper Johns, Target With Four Faces (1968) in the “Disappearance and Negation” gallery of “Jasper Johns: Mind/Mirror” at the Whitney. Photo by Ben Davis.
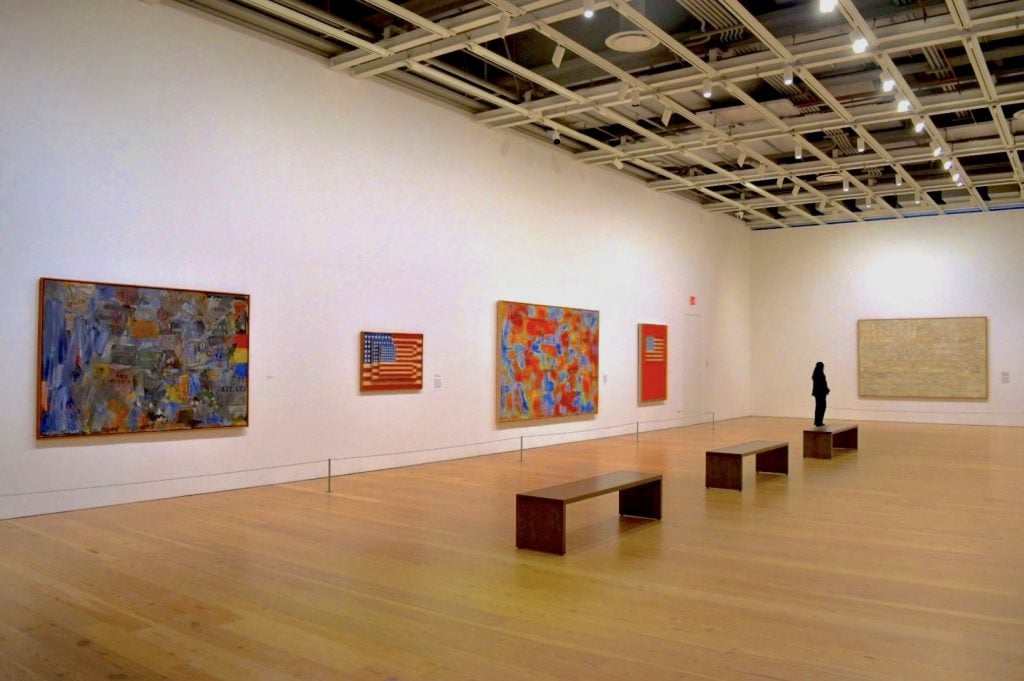
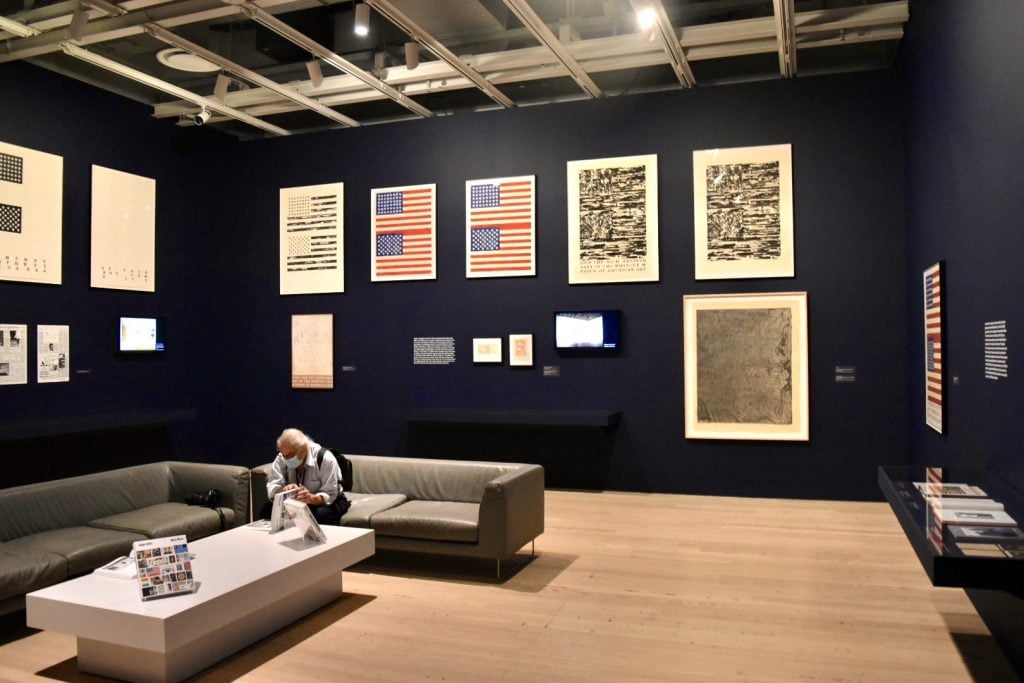
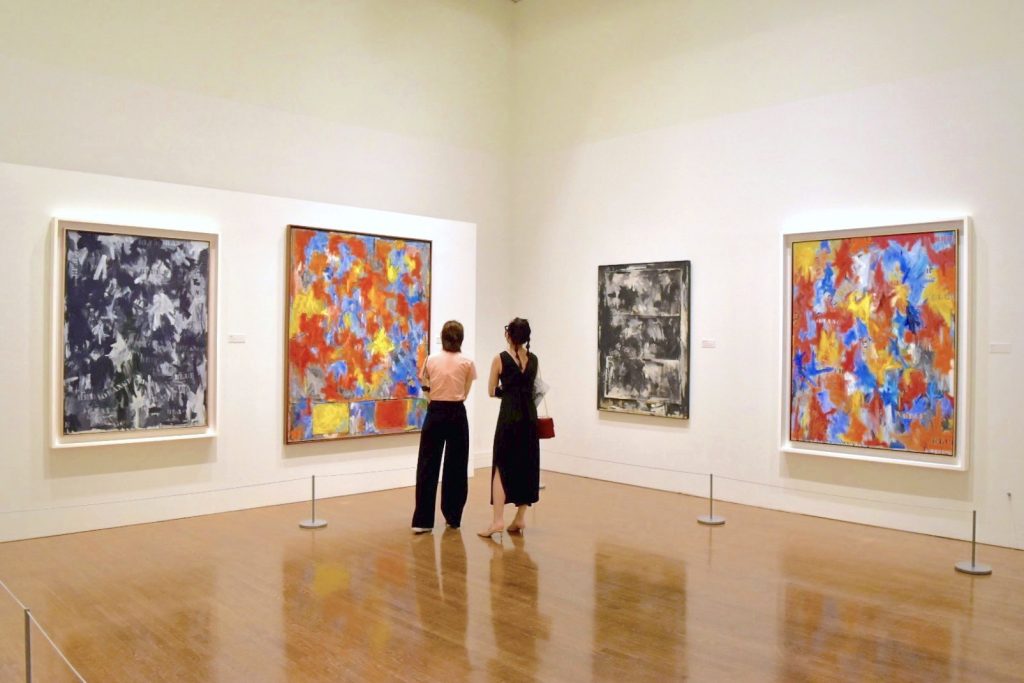
Installation view of the “Flags and Maps” gallery in “Jasper Johns: Mind/Mirror” at the Whitney. Photo by Ben Davis.
Jasper Johns, Memory Place (Frank O’Hara) (1961-70) in “Jasper Johns: Mind/Mirror” at the Philadelphia Museum of Art . Photo by Ben Davis.
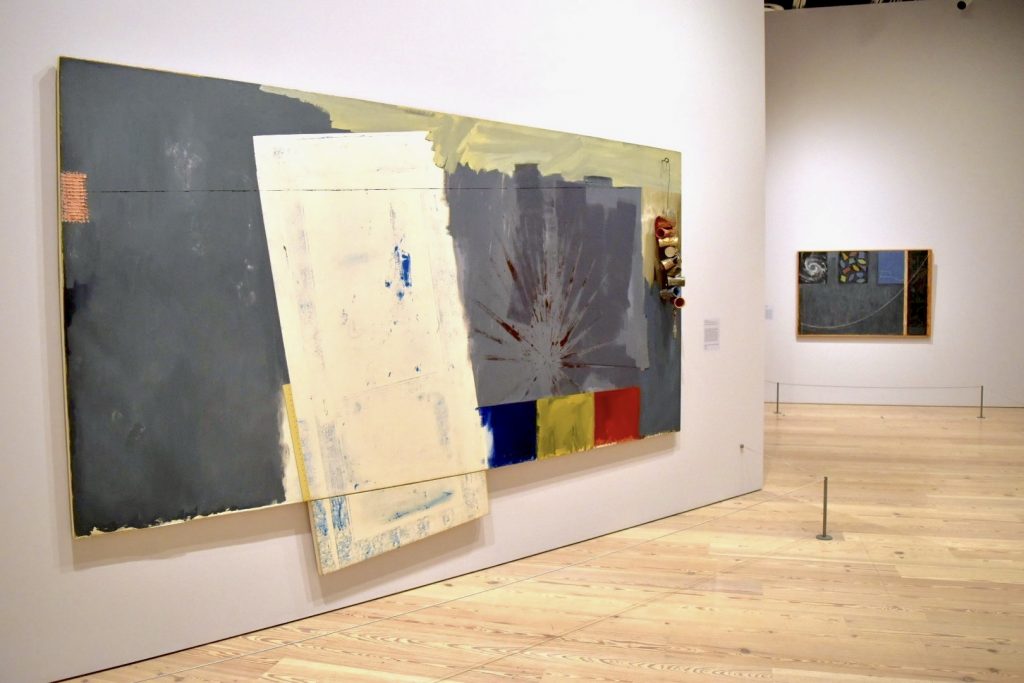
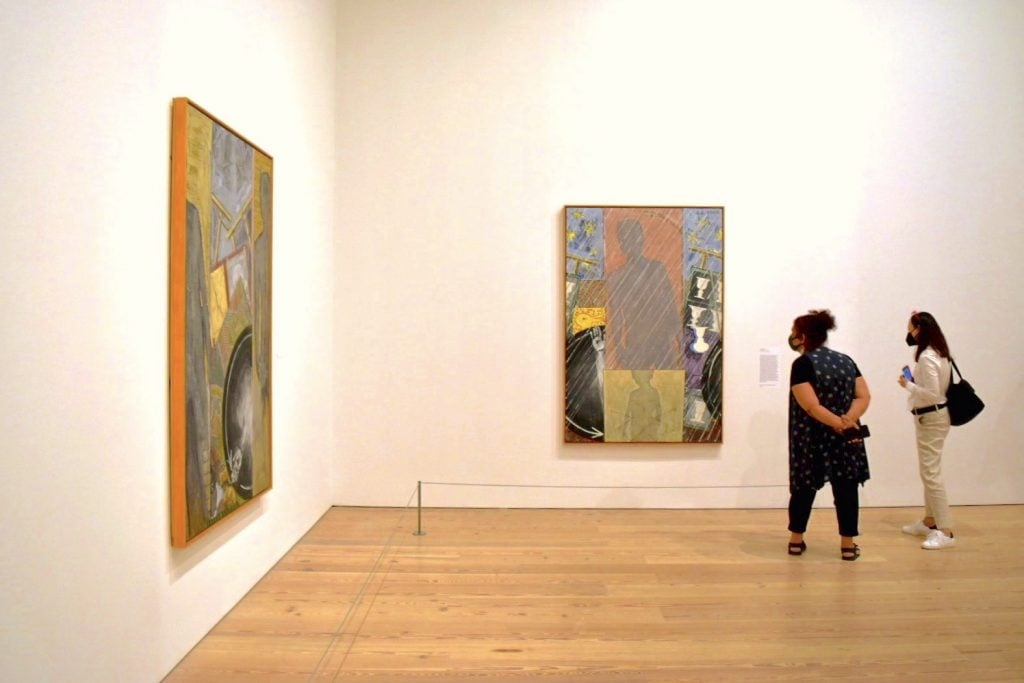
Installation view of Jasper Johns, Studio (1964) and Untitled (Halloween) (1998) at the Whitney. Photo by Ben Davis.
Jasper Johns, Untitled (2011) in “Jasper Johns: Mind/Mirror” at the Whitney Museum. Photo by Ben Davis.
Installation view of the “According to What” gallery in “Jasper Johns: Mind/Mirror” at the Whitney, with a display of Marcel Duchamp’s The Green Box from the artist’s personal collection at left. Photo by Ben Davis.
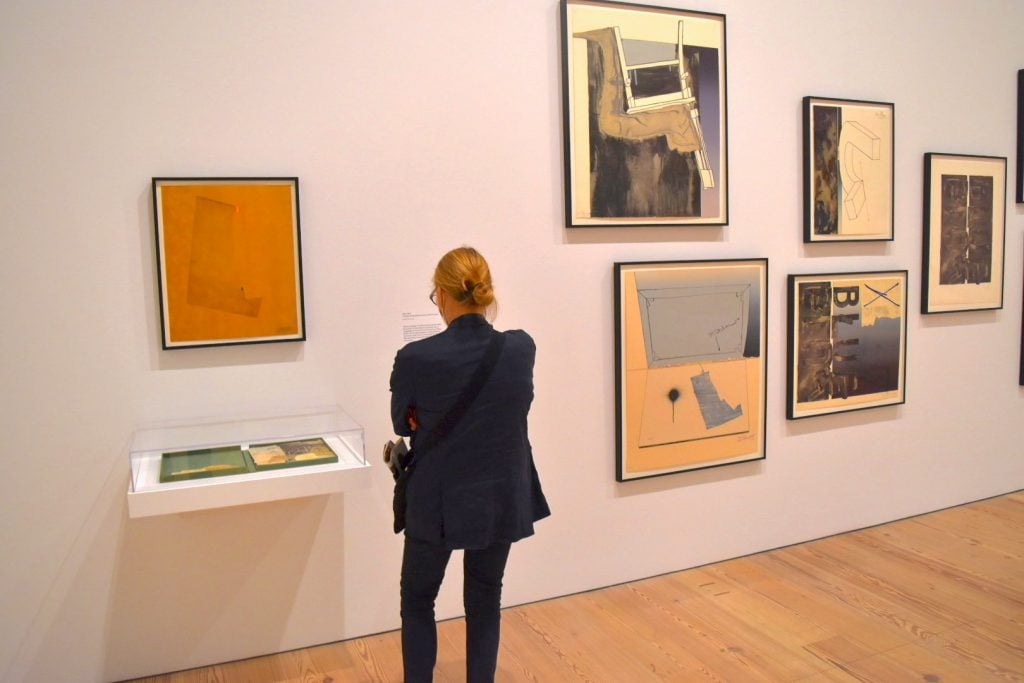
Jasper Johns, Studio II 1960) and Harlem Light (1967) in the “Leo Castelli, 1968” gallery in “Jasper Johns: Mind/Mirror” at the Whitney, recreating a 1969 show at Leo Castelli gallery. Photo by Ben Davis.
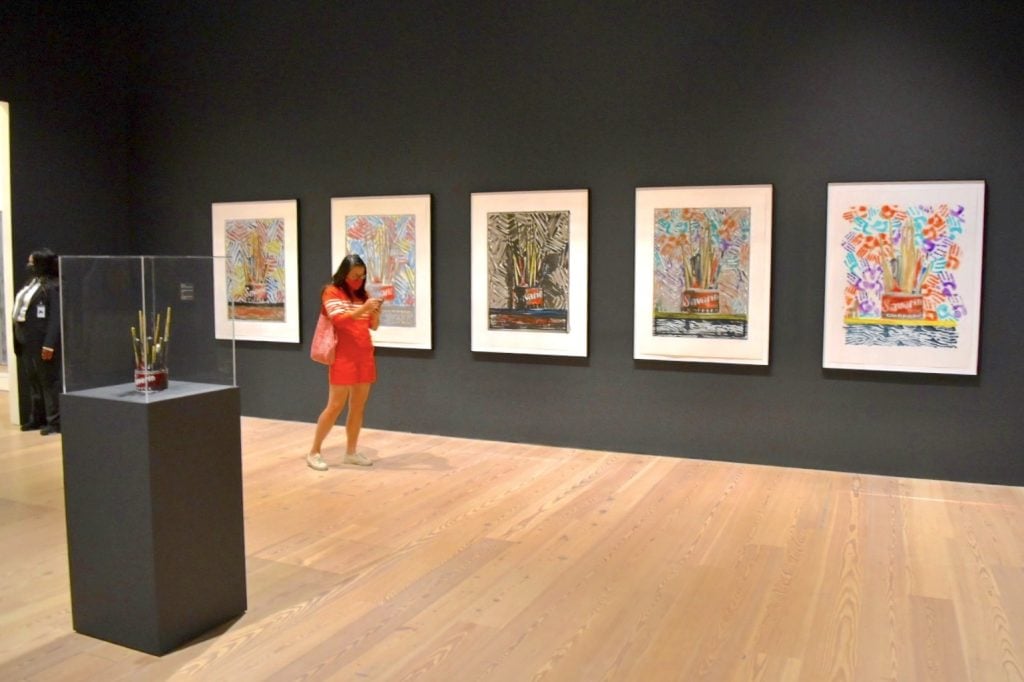
The “Savarin Monotypes” gallery in “Jasper Johns: Mind/Mirror” at the Whitney. Photo by Ben Davis.
Installation view of the “Mirror/Double” gallery in “Jasper Johns: Mind/Mirror” at the Whitney. Photo by Ben Davis.
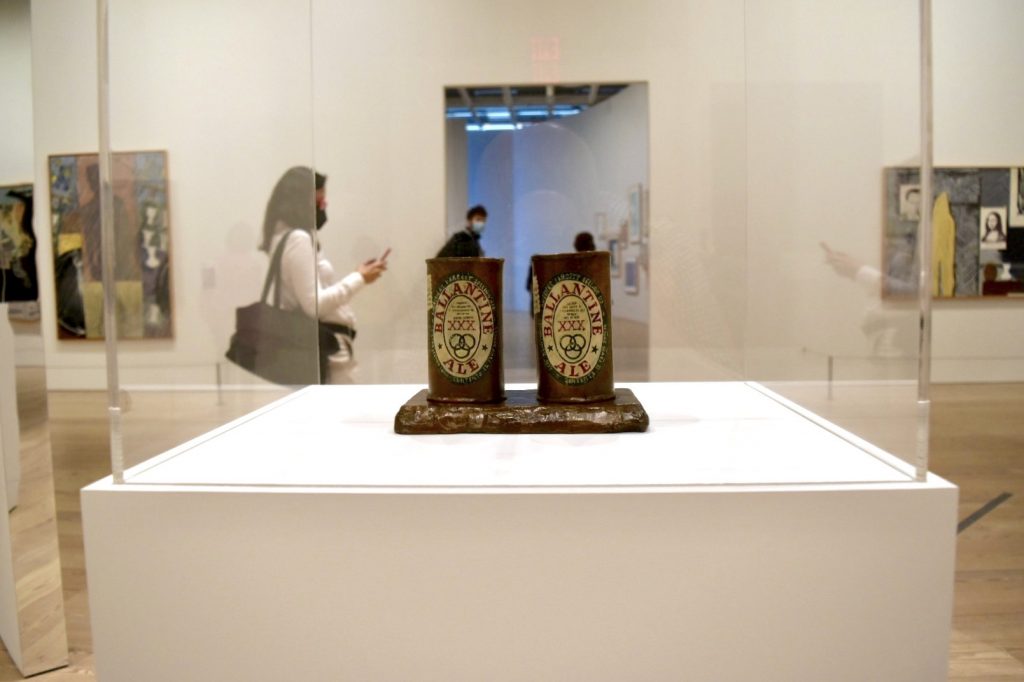
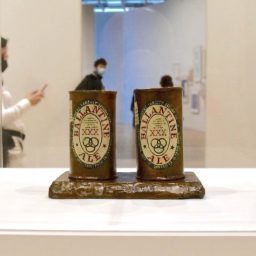
Installation view of Jasper Johns, Painted Bronze 1960) at the Whitney. Photo by Ben Davis.
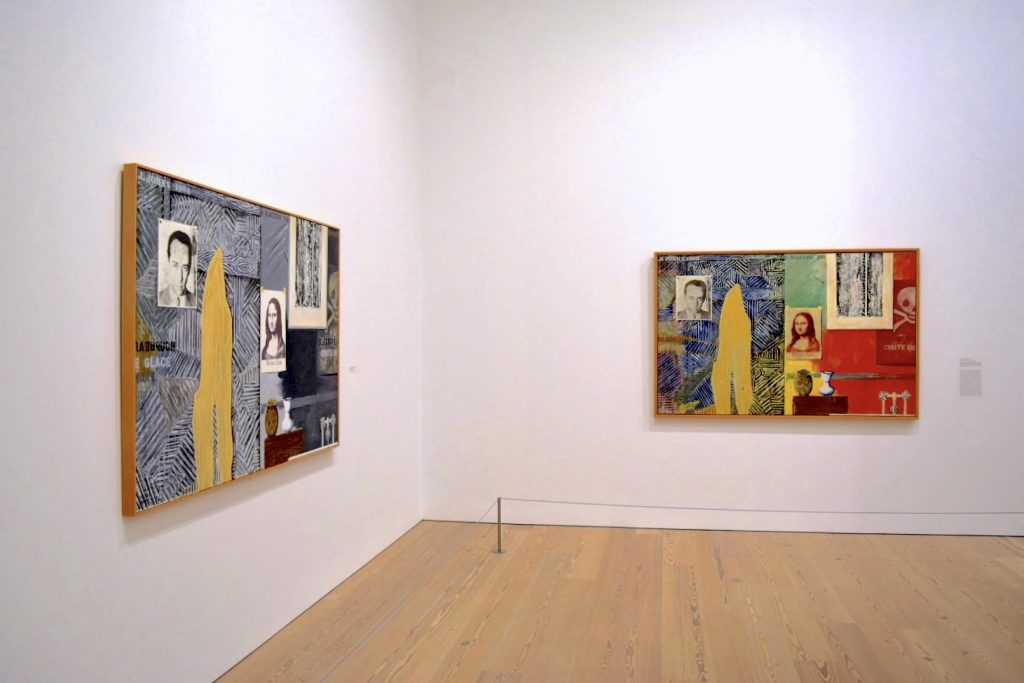
Installation view of two versions of Racing Thoughts in the “Mirror/Double” gallery (left: 1984; right: 1983) at the Whitney. Photo by Ben Davis.
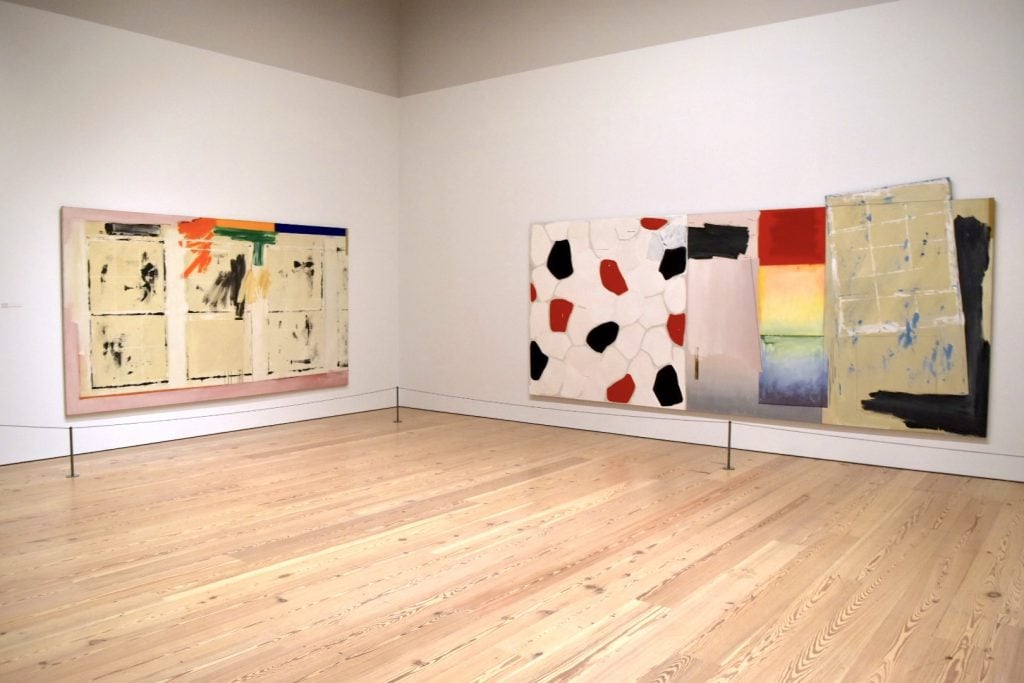
Installation view of Jasper Johns, Fall (1986) and Spring (1986) in the “Mirror/Double” gallery in “Jasper Johns: Mind/Mirror” at the Whitney. Photo by Ben Davis.
Installation view of Jasper Johns, Dancer on a Plane (1979) at the Whitney. Photo by Ben Davis.

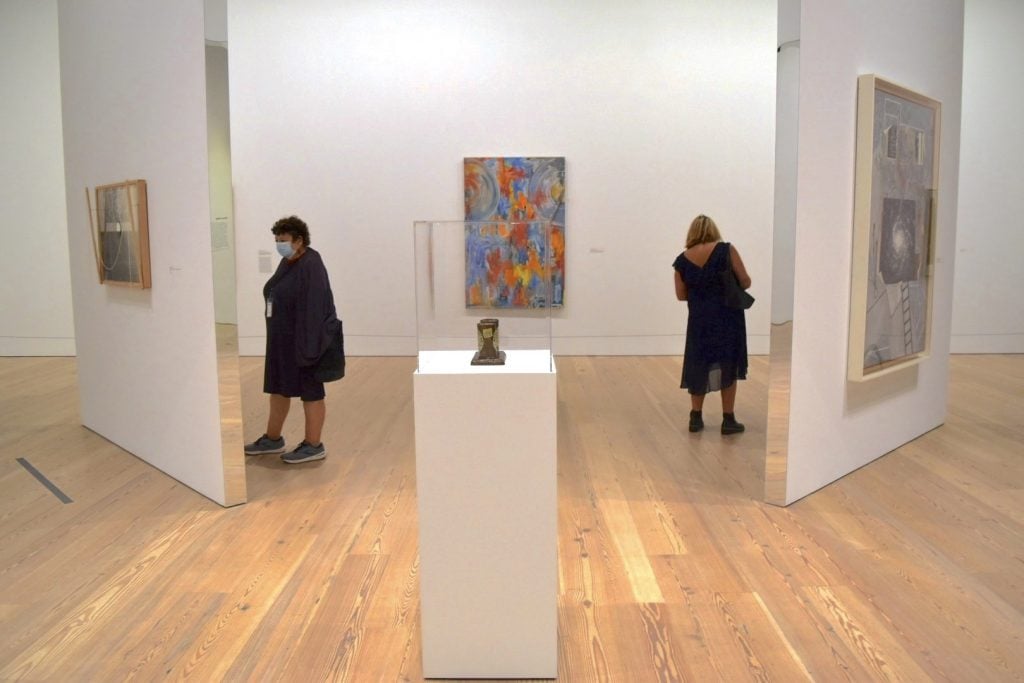
Installation view of the “Dreams” gallery in “Jasper Johns: Mind/Mirror” at the Whitney Museum. Photo by Ben Davis.
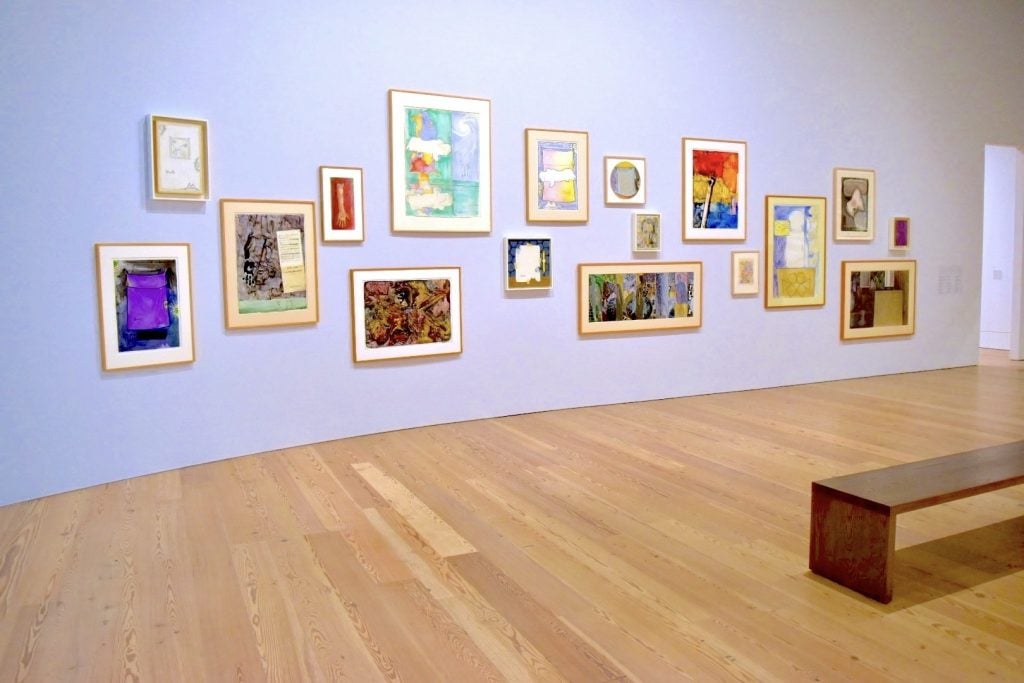
Installation view of the “Dreams” gallery in “Jasper Johns: Mind/Mirror” at the Whitney. Photo by Ben Davis.
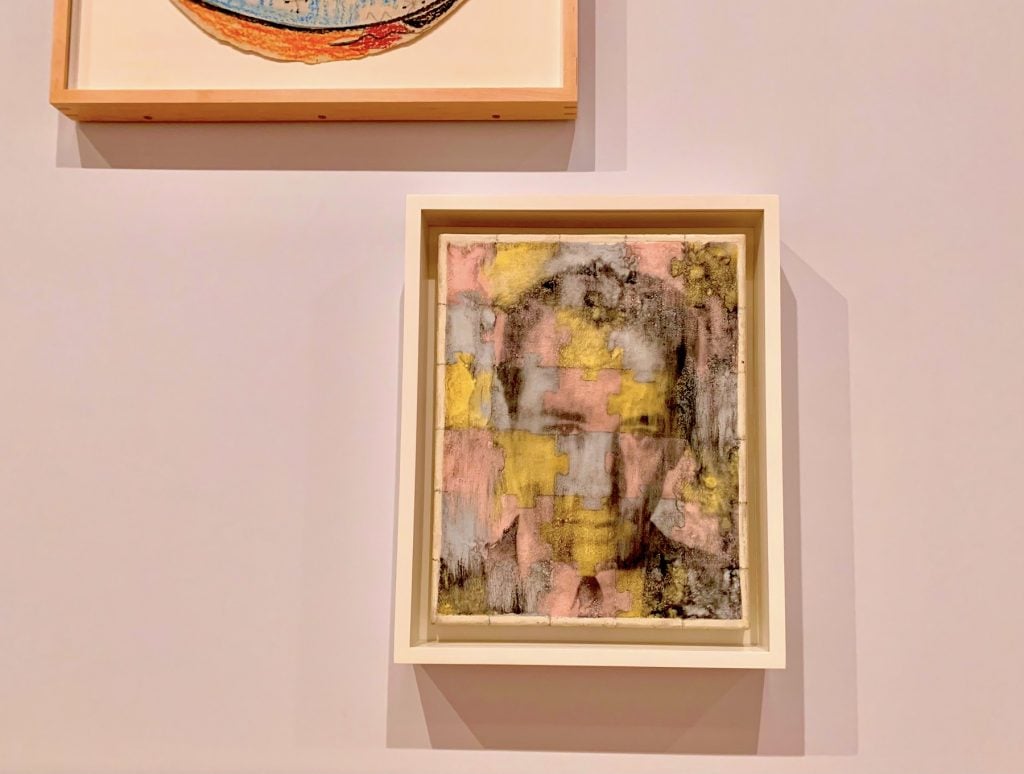
Jasper Johns, Untitled (Leo Castelli) (1984) in the “Dreams” gallery. Photo by Ben Davis.
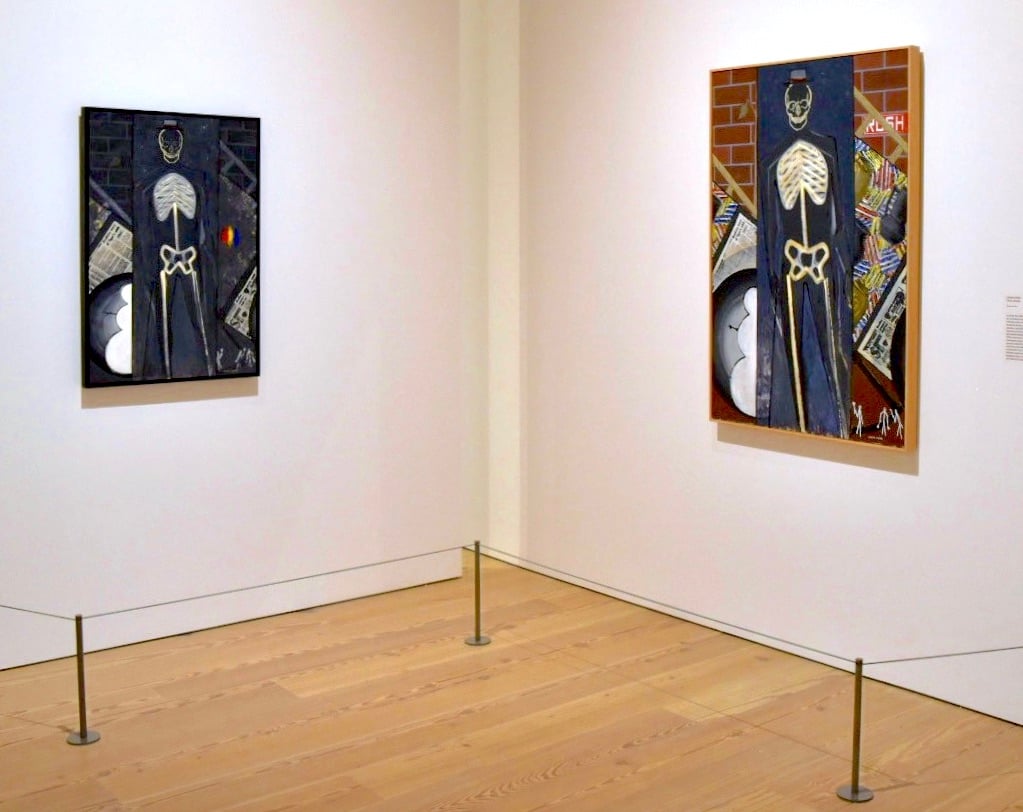
Installation view of Jasper Johns, Untitled (2018) and Untitled (2018) in the “Elegies in Dark” gallery in “Jasper Johns: Mind/Mirror” at the Whitney. Photo by Ben Davis.
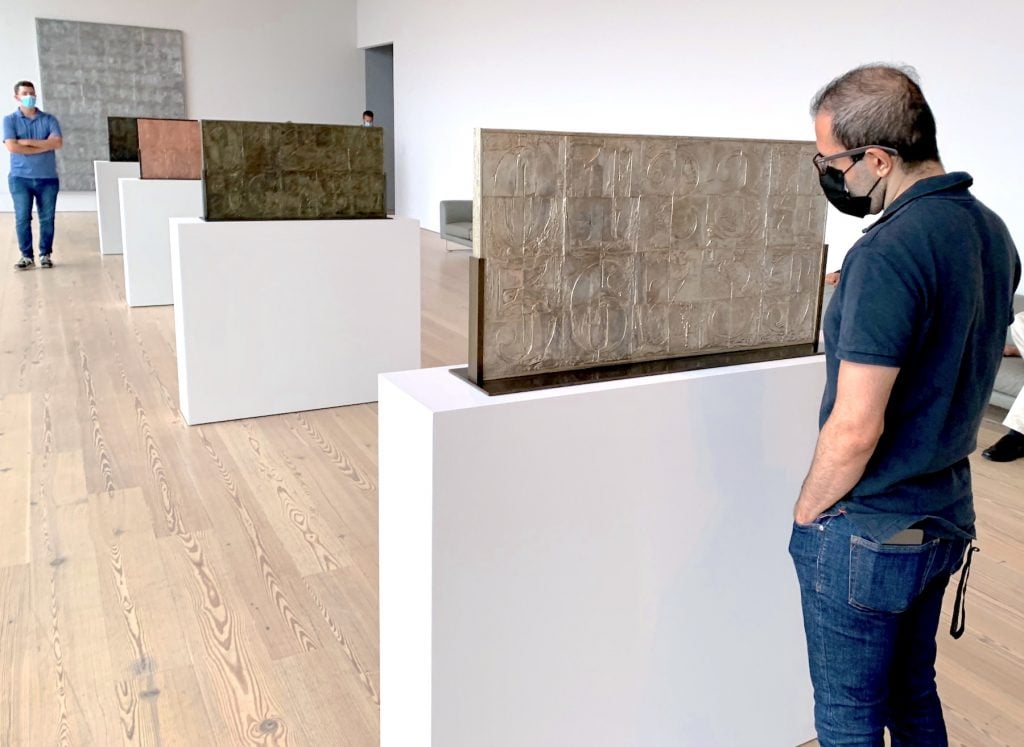
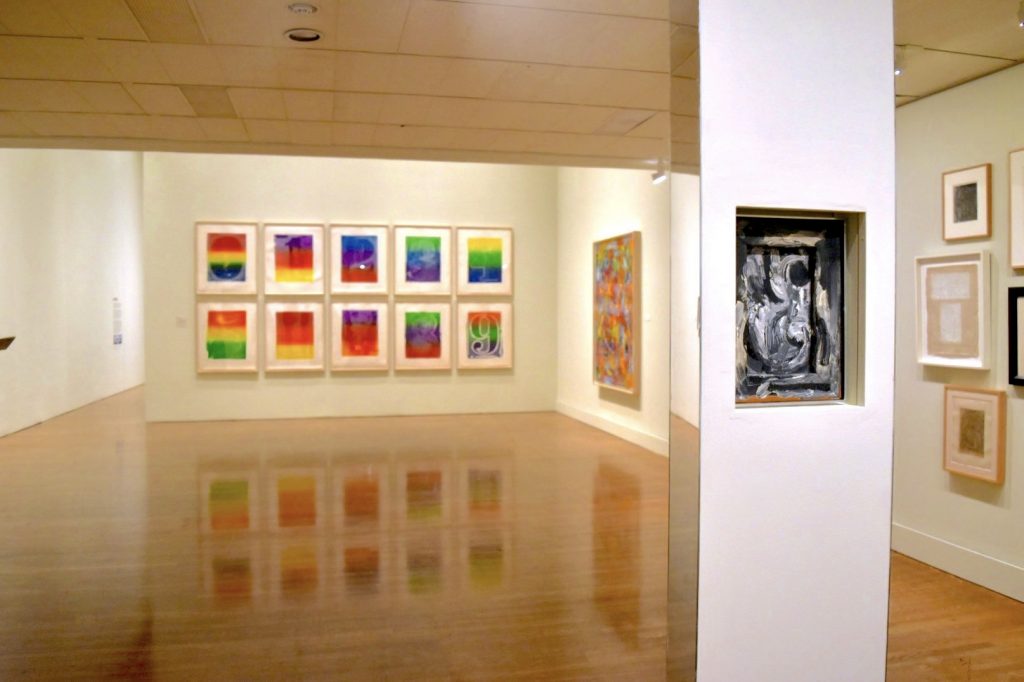
Installation view of four versions of Jasper Johns, 0-9 at the Whitney. Photo by Ben Davis.
Installation view of the “Jasper Johns and the Whitney” in “Jasper Johns: Mind/Mirror” at the Whitney. Photo by Ben Davis.
Philadelphia Museum of Art
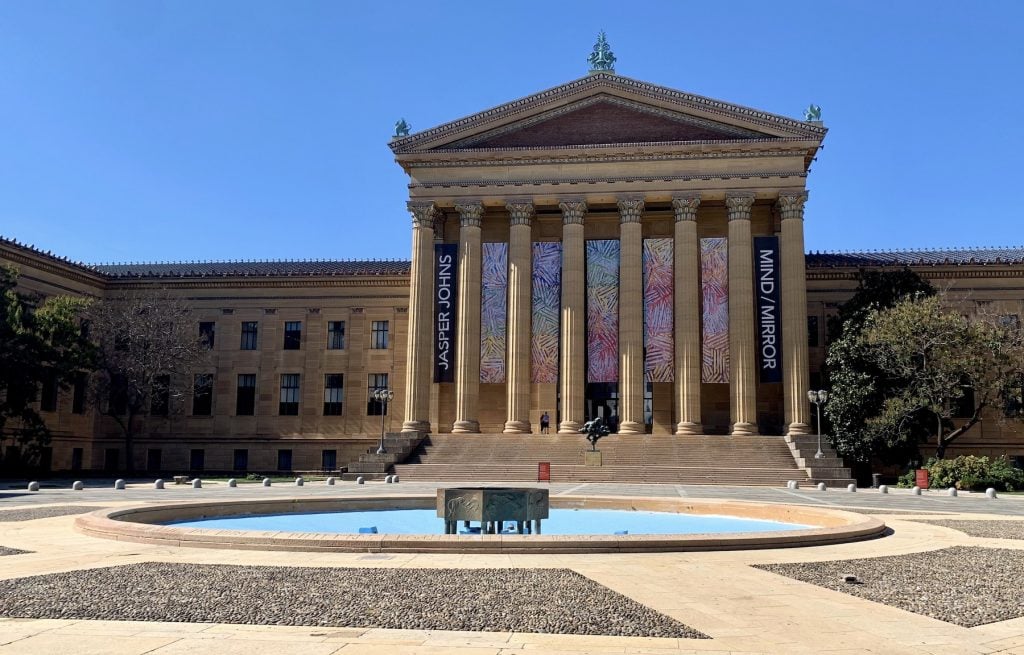
The Philadelphia Museum of Art, with banners for “Jasper Johns: Mind/Mirror.” Photo by Ben Davis.
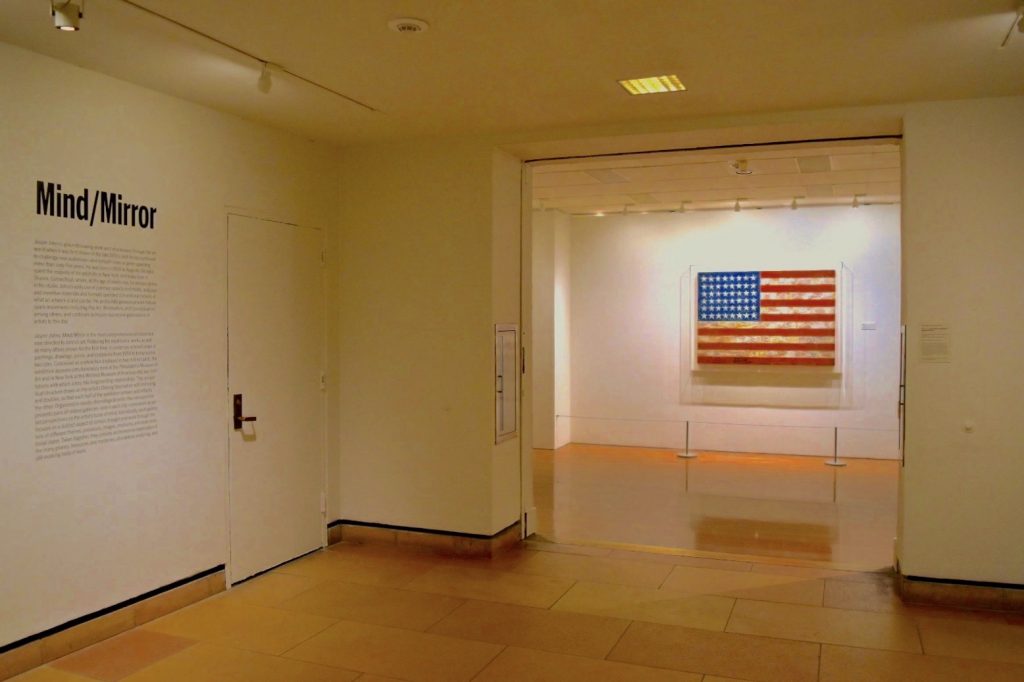
The entrance to “Jasper Johns: Mind/Mirror” at the Philadelphia Museum of Art. Photo by Ben Davis.
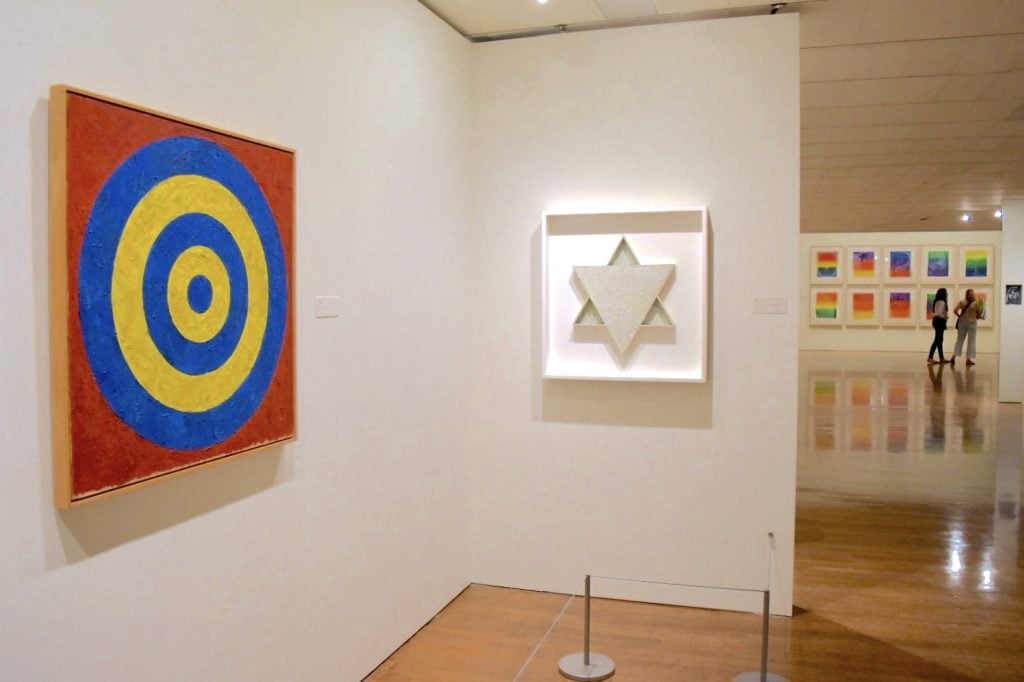
Installation view of Jasper Johns, Target (1958) and Star (1954) at the Philadelphia Museum of Art. Photo by Ben Davis.
Installation view of the “Numbers” gallery in “Jasper Johns: Mind/Mirror” at the Philadelphia Museum of Art. Photo by Ben Davis.
Installation view of the “Numbers” gallery in “Jasper Johns: Mind/Mirror” at the Philadelphia Museum of Art. Photo by Ben Davis.
Installation view of the “Leo Castelli, 1960” gallery in “Jasper Johns: Mind/Mirror” at the Philadelphia Museum of Art, recreating a 1960 gallery show by the artist. Photo by Ben Davis.
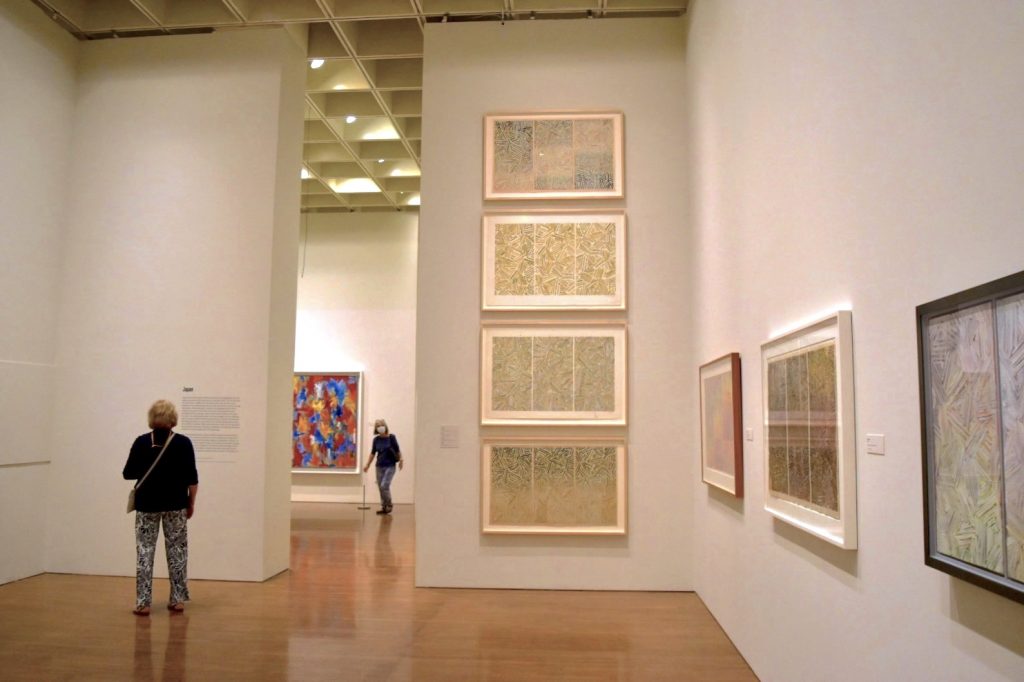
Installation view of the “Japan” gallery in “Jasper Johns: Mind/Mirror” at the Philadelphia Museum of Art. Photo by Ben Davis.

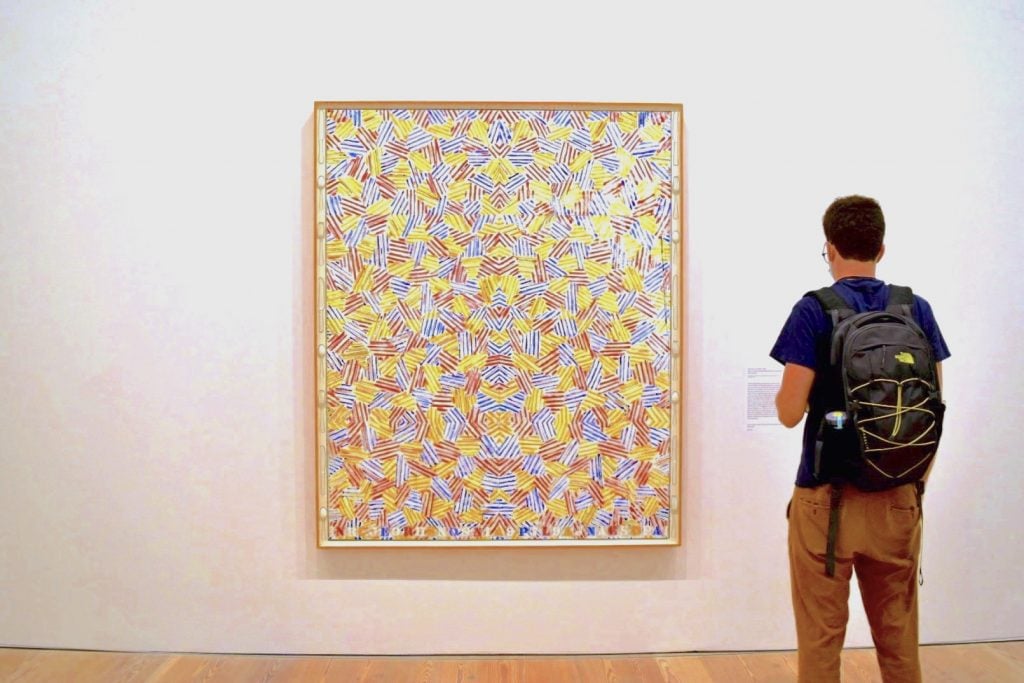
Jasper Johns, Usuyuki (1982) at the Philadelphia Museum of Art. Photo by Ben Davis.
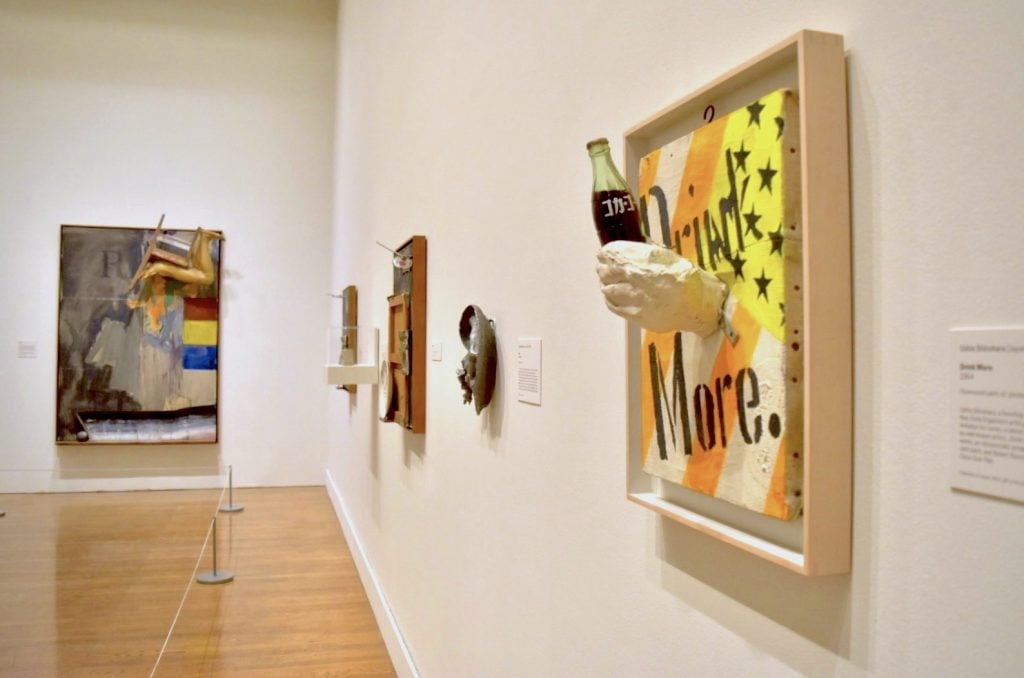
Installation view of Ushio Shinohara, Drink More (1964). Photo by Ben Davis.
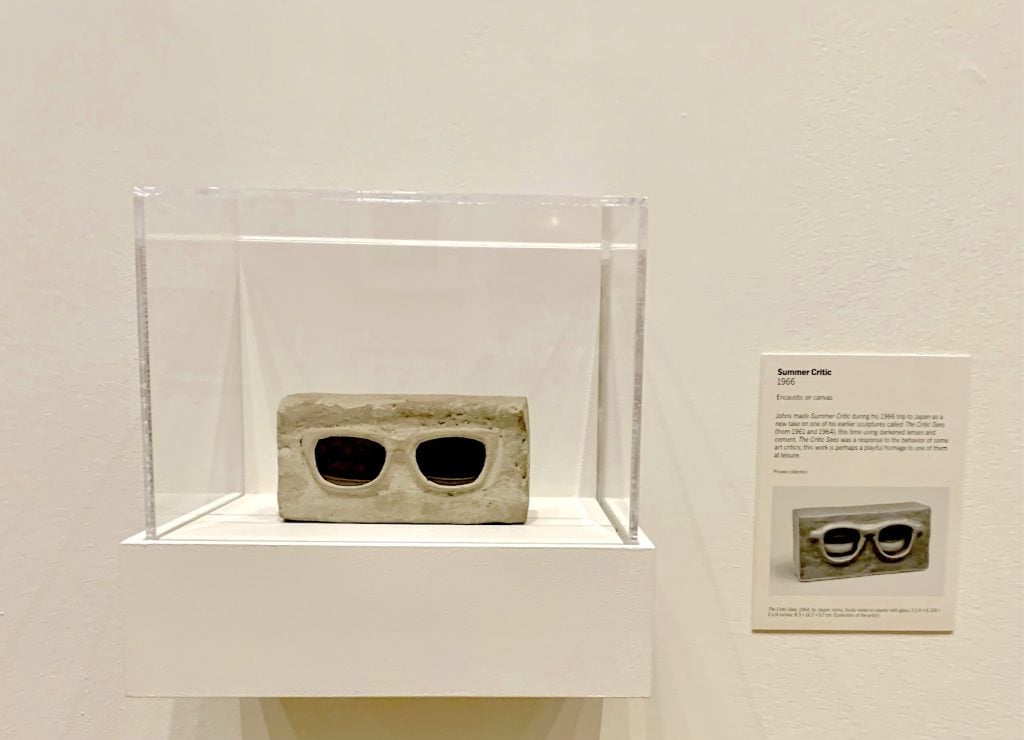
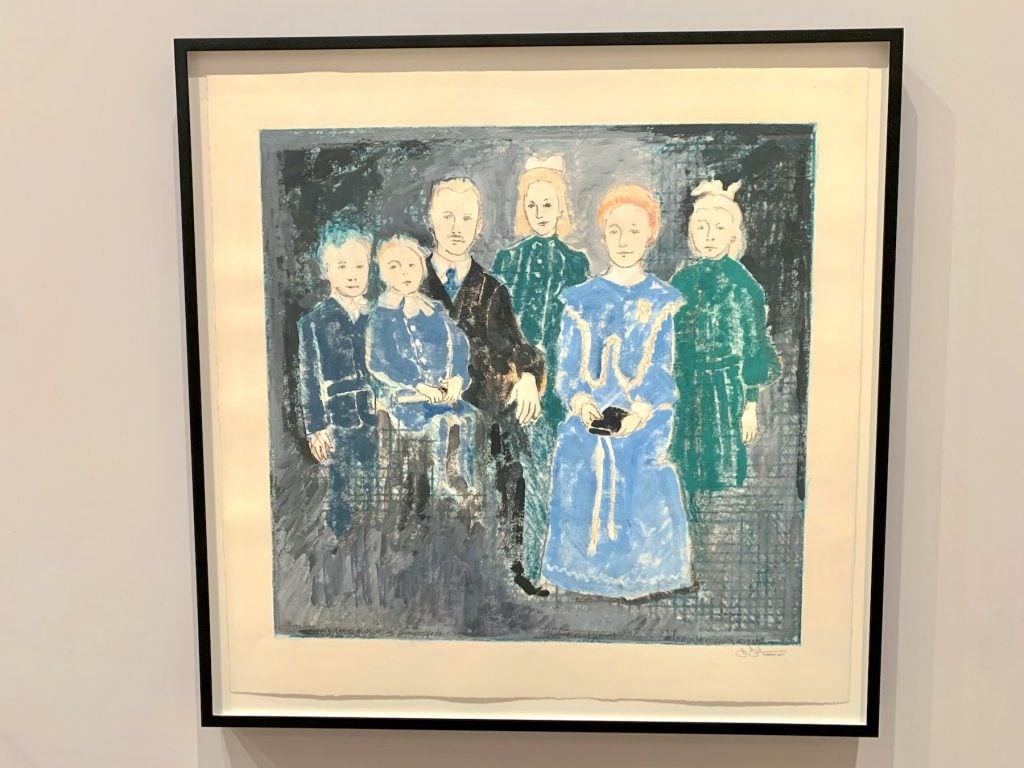
Jasper Johns, Summer Critic (1966) in “Jasper Johns: Mind/Mirror” at the Philadelphia Museum. Photo by Ben Davis.
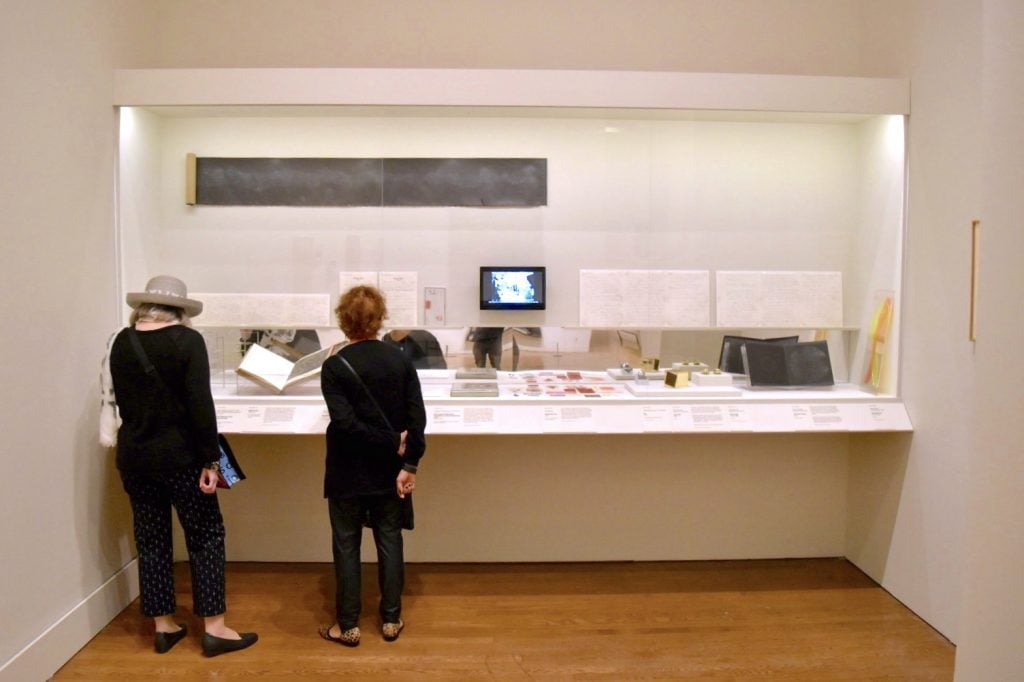
Installation view of a display of ephemera related to Jasper Johns’s time in Japan at the Philadelphia Museum of Art. Photo by Ben Davis.
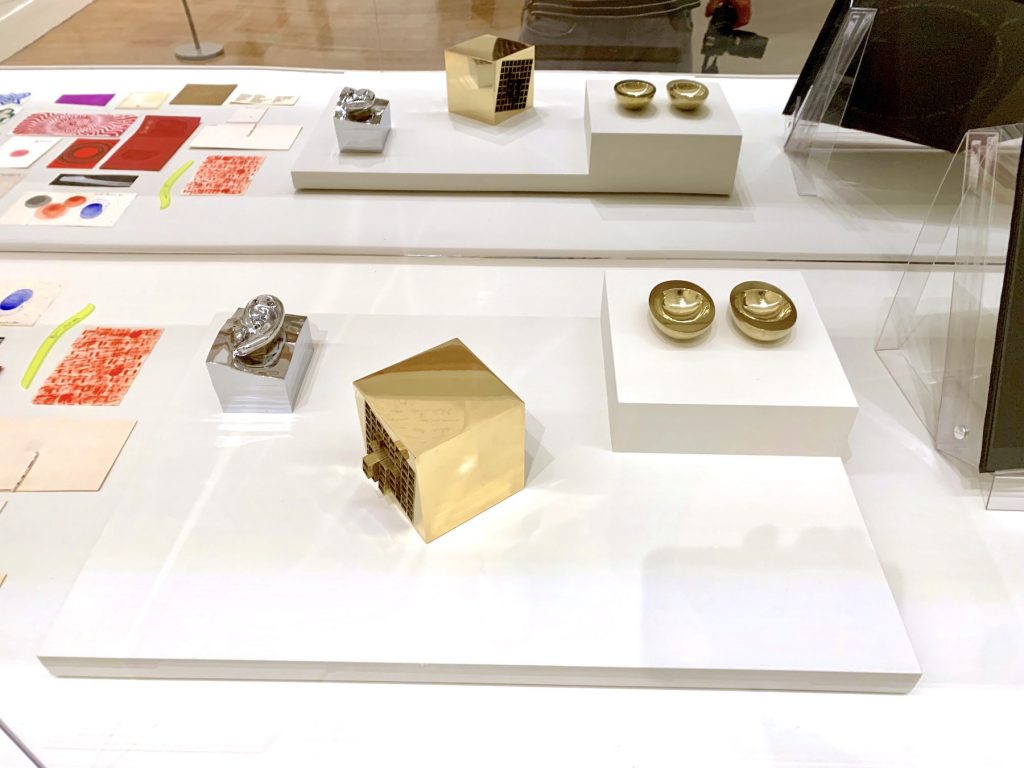
Works by Tomio Miki and Aiko Miyawaki from Jasper Johns’s personal collection, on view in “Jasper Johns: Mind/Mirror” at the Philadelphia Museum of Art. Photo by Ben Davis.
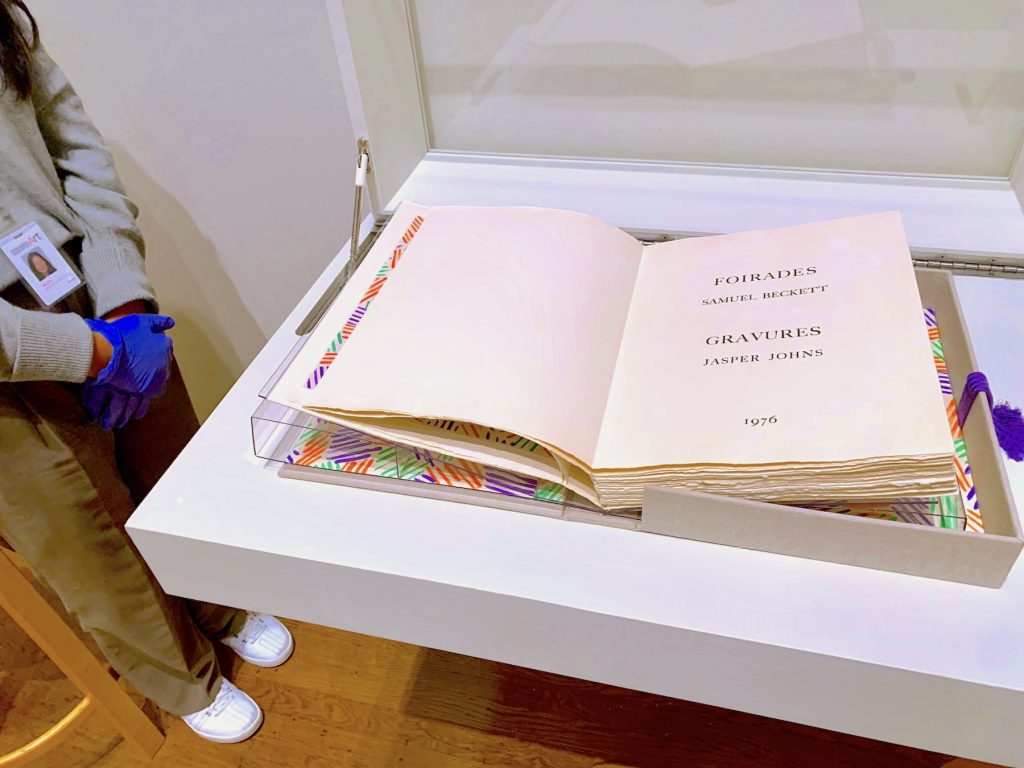
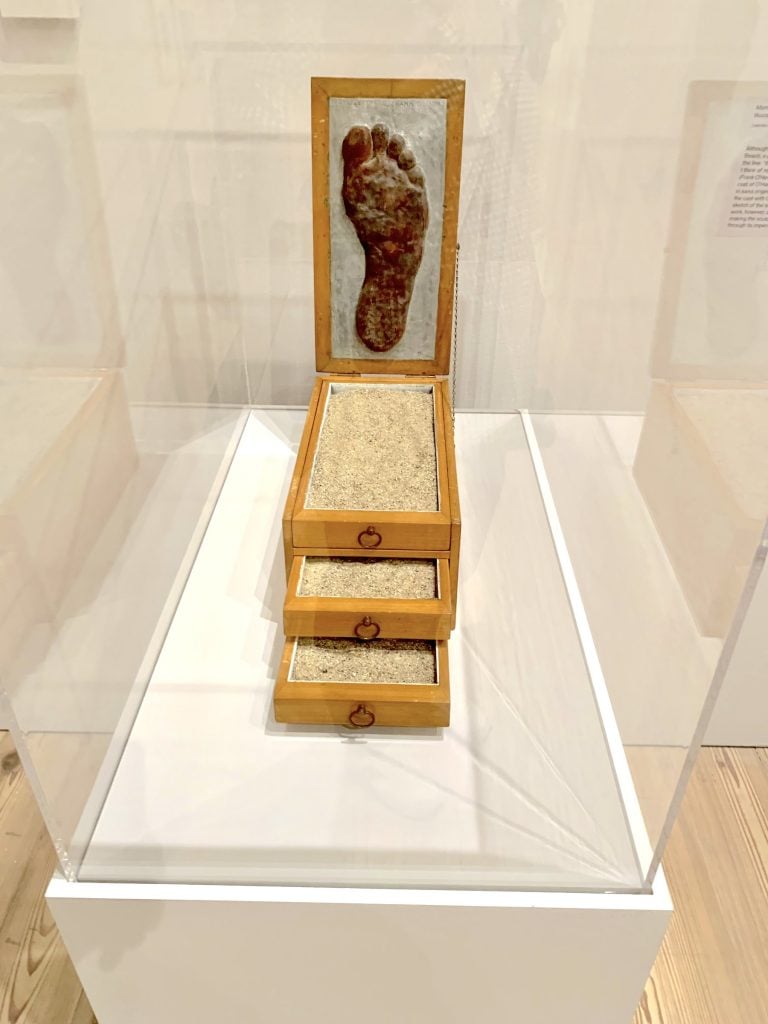
Jasper Johns’s copy of Folrades/Fizzles by Samuel Beckett, with illustrations by Johns. Photo by Ben Davis.
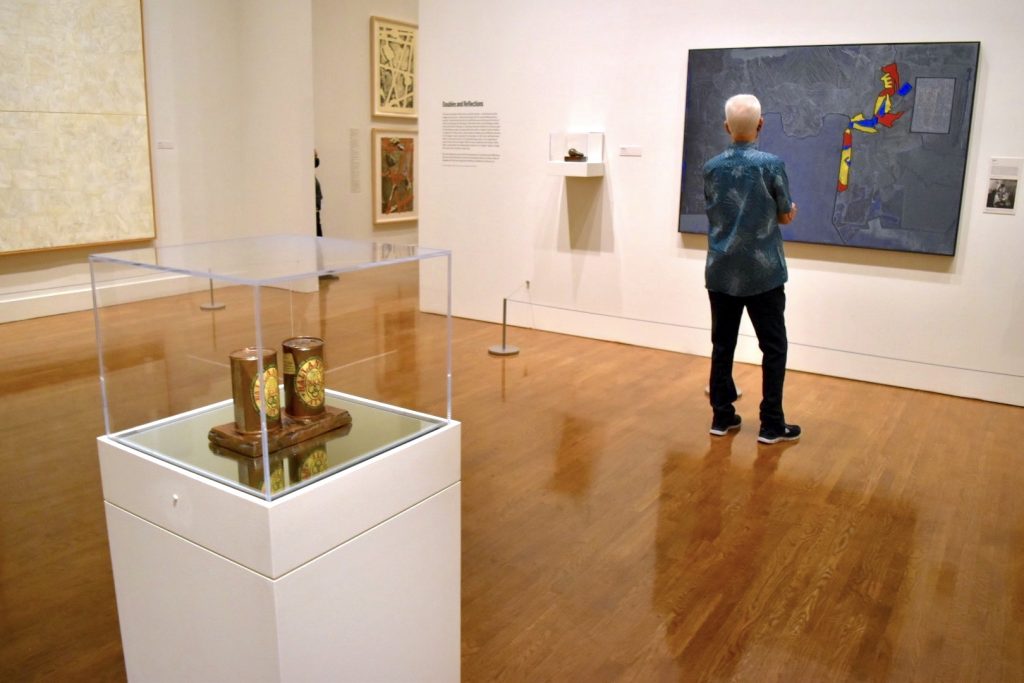
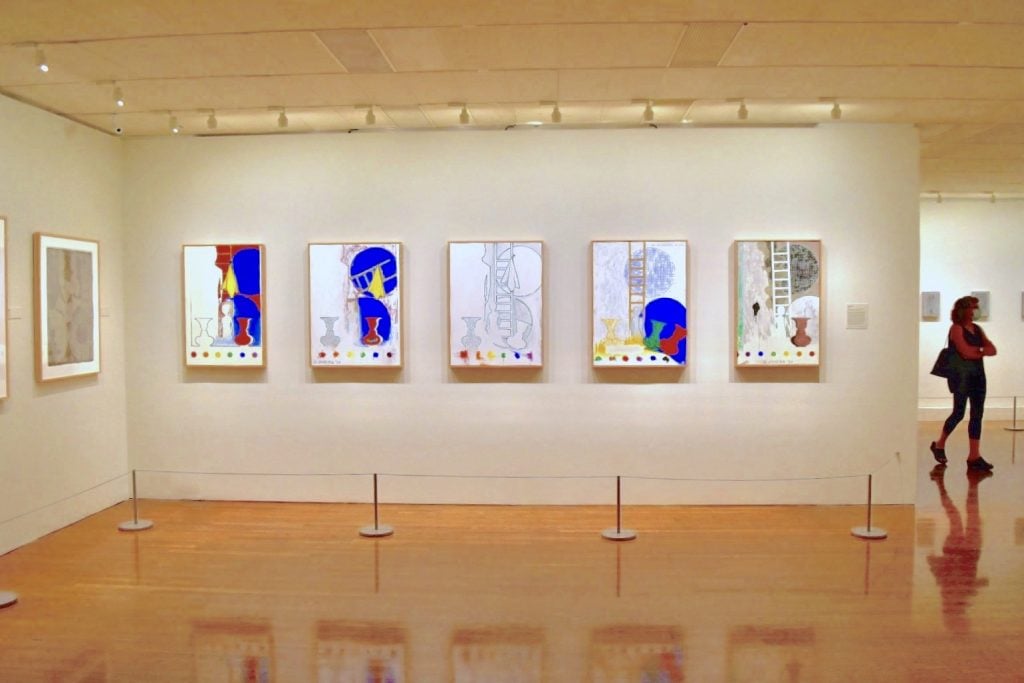
Installation view of the “Doubles and Reflections” gallery at the Philadelphia Museum of Art. Photo by Ben Davis.
Installation view of the “Doubles and Reflections” gallery at the Philadelphia Museum of Art. Photo by Ben Davis.
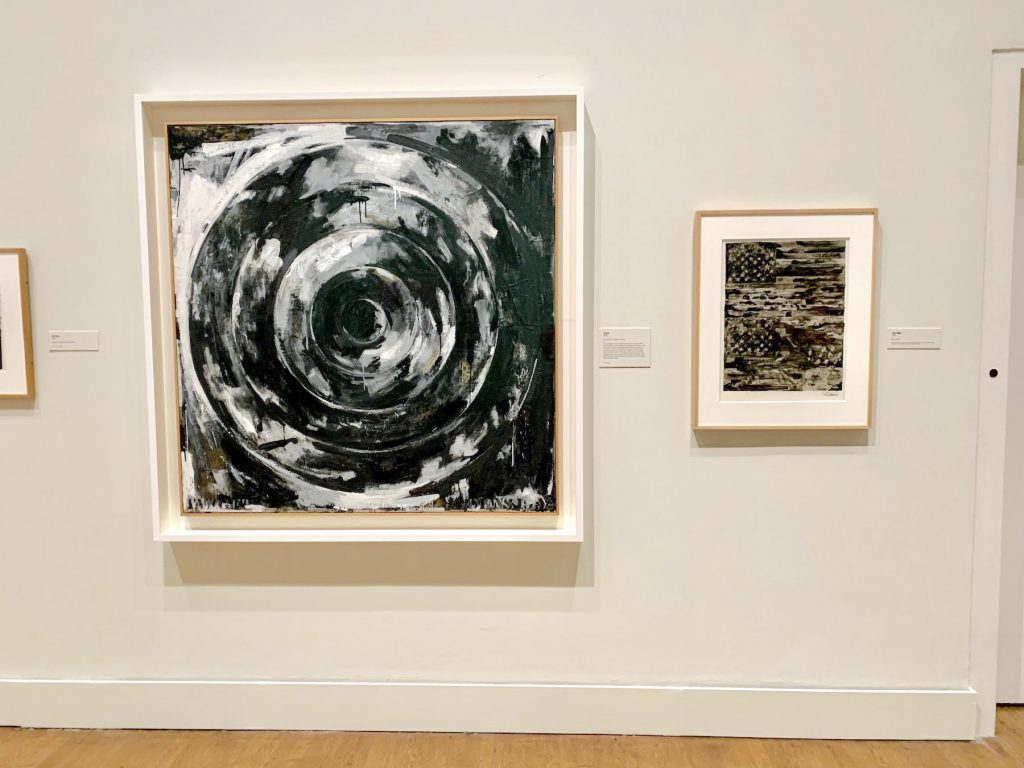
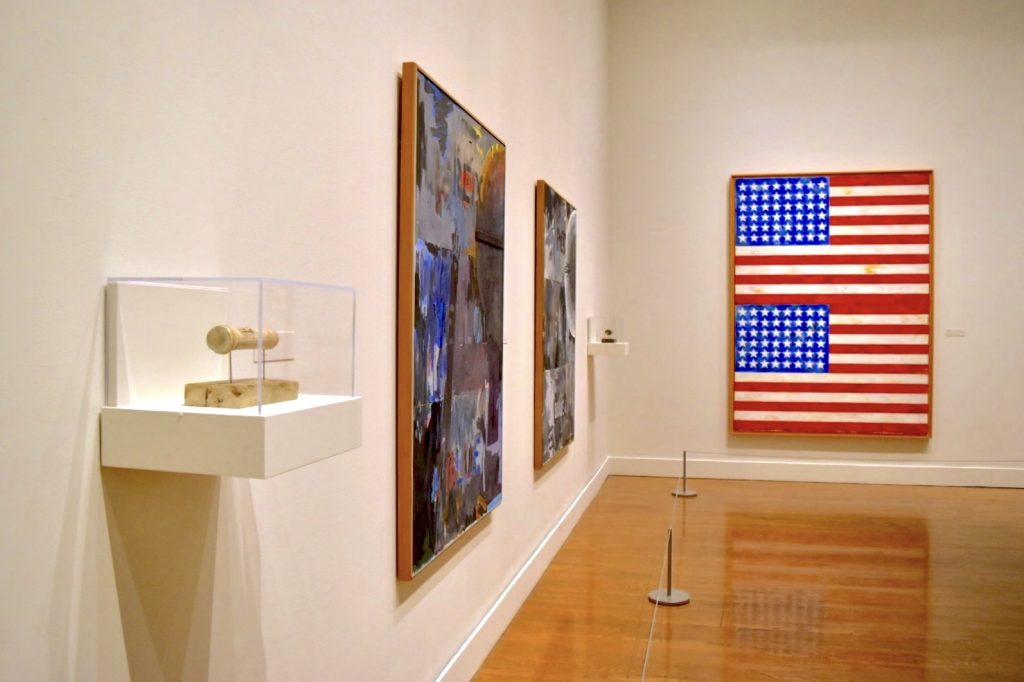
Jasper Johns, Target (1992) and Two Flags (1985) in the “Nightmares” gallery of “Jasper Johns: Mind/Mirror” at the Philadelphia Museum. Photo by Ben Davis.
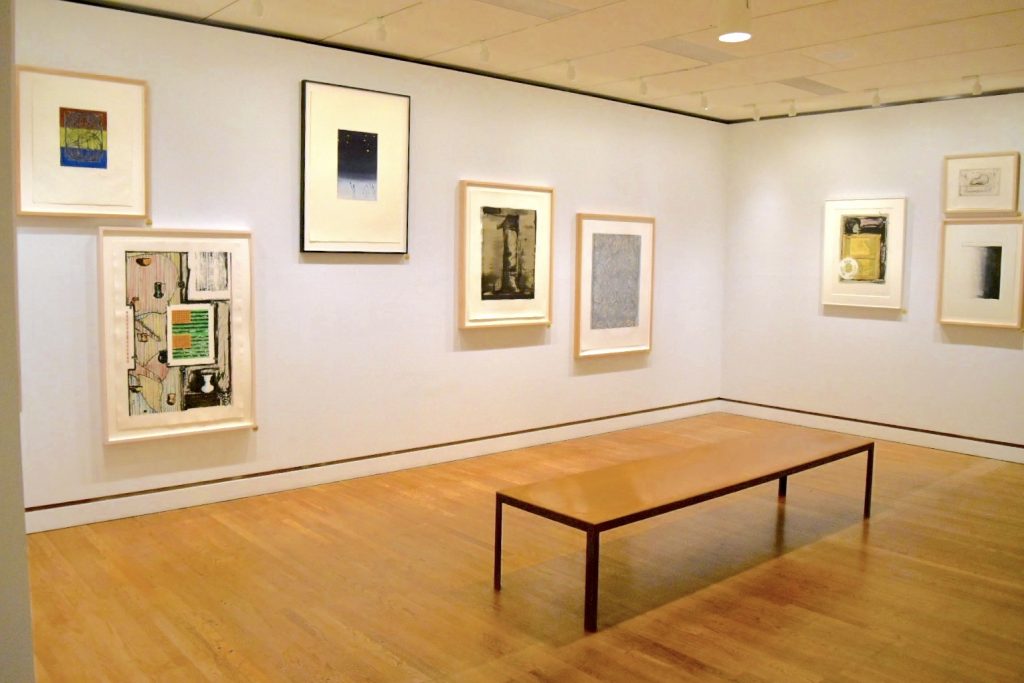
Installation view of the “Trial and Working Proofs” gallery in “Jasper Johns: Mind/Mirror” at the Philadelphia Museum of Art. Photo by Ben Davis.
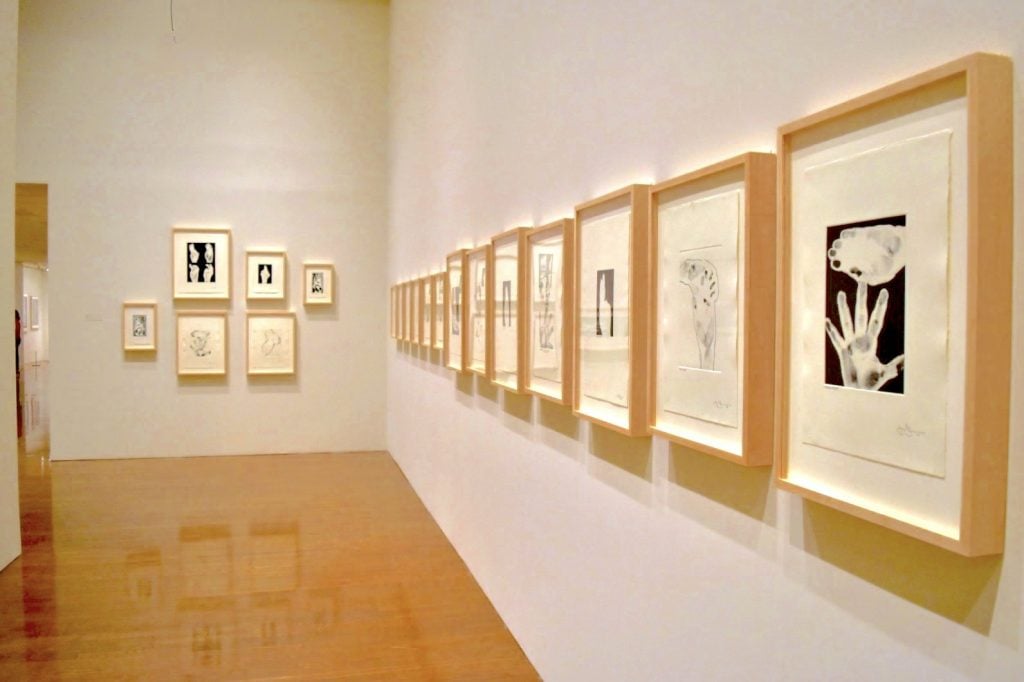
Display of Jasper Johns’s “Untitled” series of handprints (1998) at the Philadelphia Museum of Art. Photo by Ben Davis.
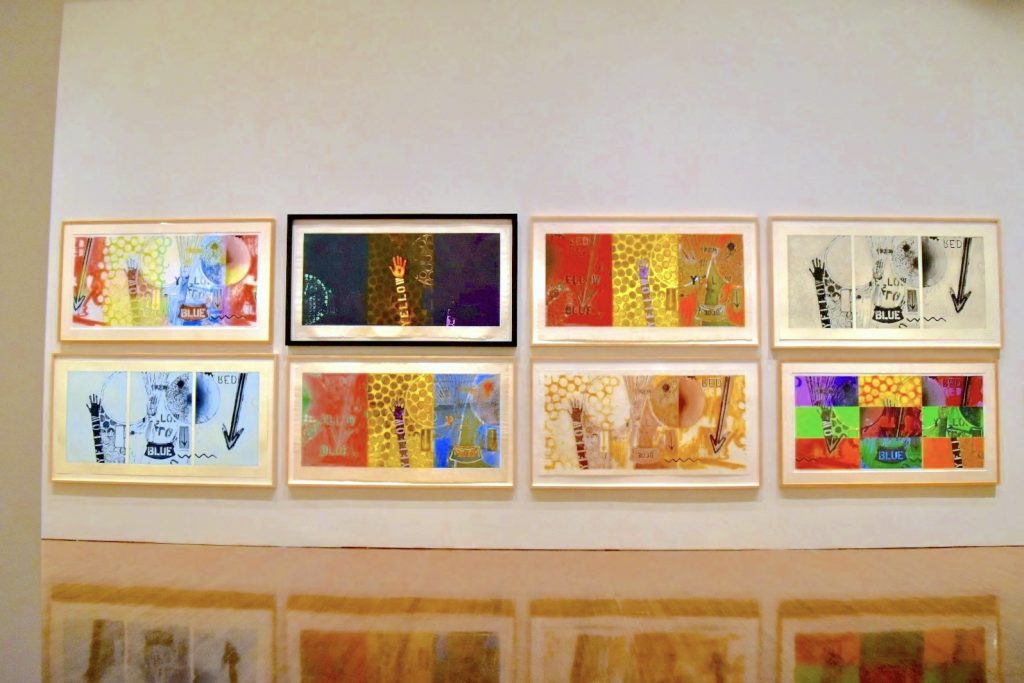
Installation view of Jasper Johns’s “5 Postcards” series at the Philadelphia Museum of Art. Photo by Ben Davis.
Installation view of “Rolywholyover,” a prints show within “Jasper Johns: Mind/Mirror” at the Philadelphia Museum of Art. Photo by Ben Davis.
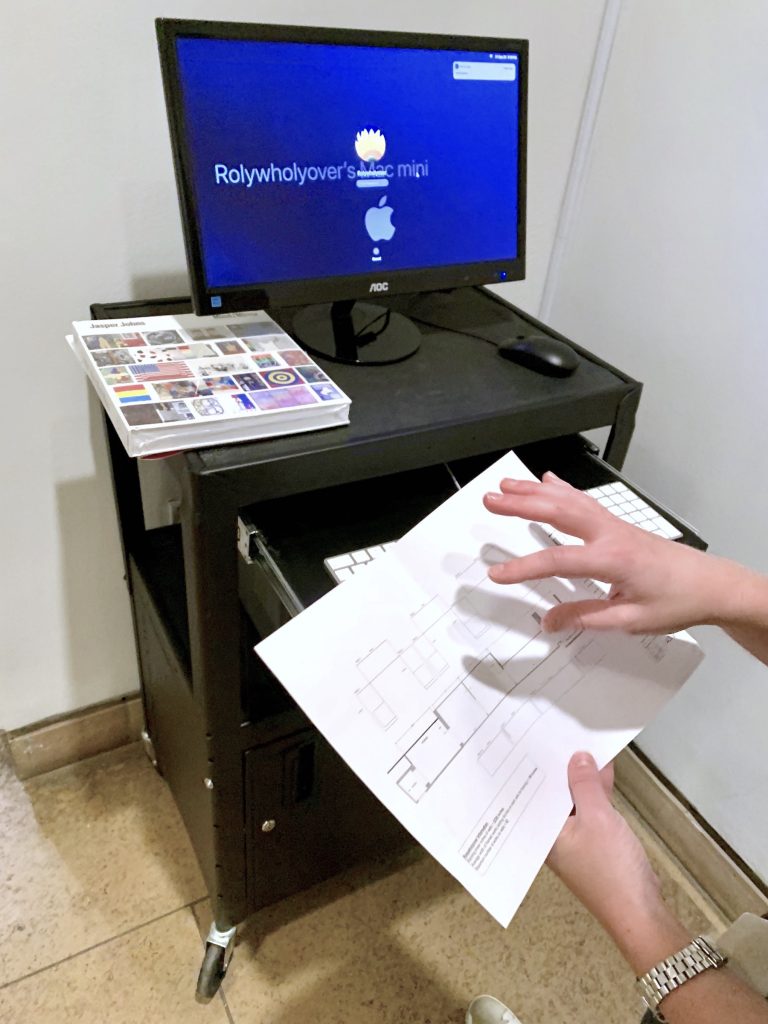
Looking at the floorplan and computer connected to Rolywholyover, an installation at the Philadelphia Museum of Art, an experimental installation for which a different configuration of Jasper Johns prints is generated every day. Photo by Ben Davis.
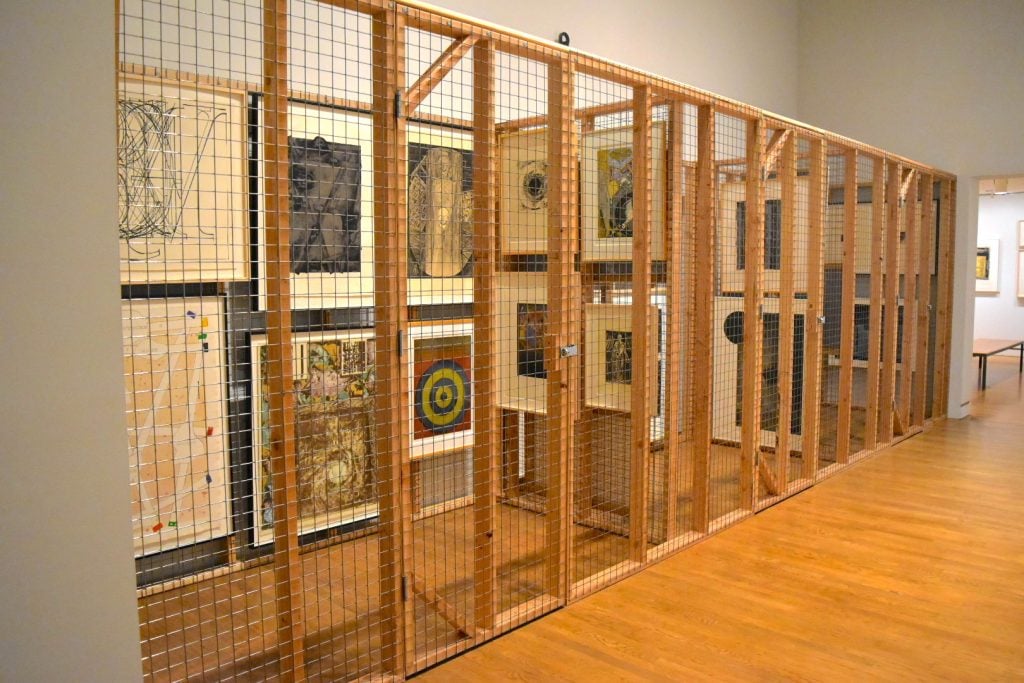
Prints from the Philadelphia Museum of Art on display in in-gallery storage as part of “Rolywholyover,” waiting to be selected and reconfigured. Photo by Ben Davis.
 and Highway (1959) in")